Self-hosting MonkeyLLM in 10 minutes with Docker
One container, two volumes, no external database. From a clean machine to a forest your AI can query, including the parts that matter on a VPS.
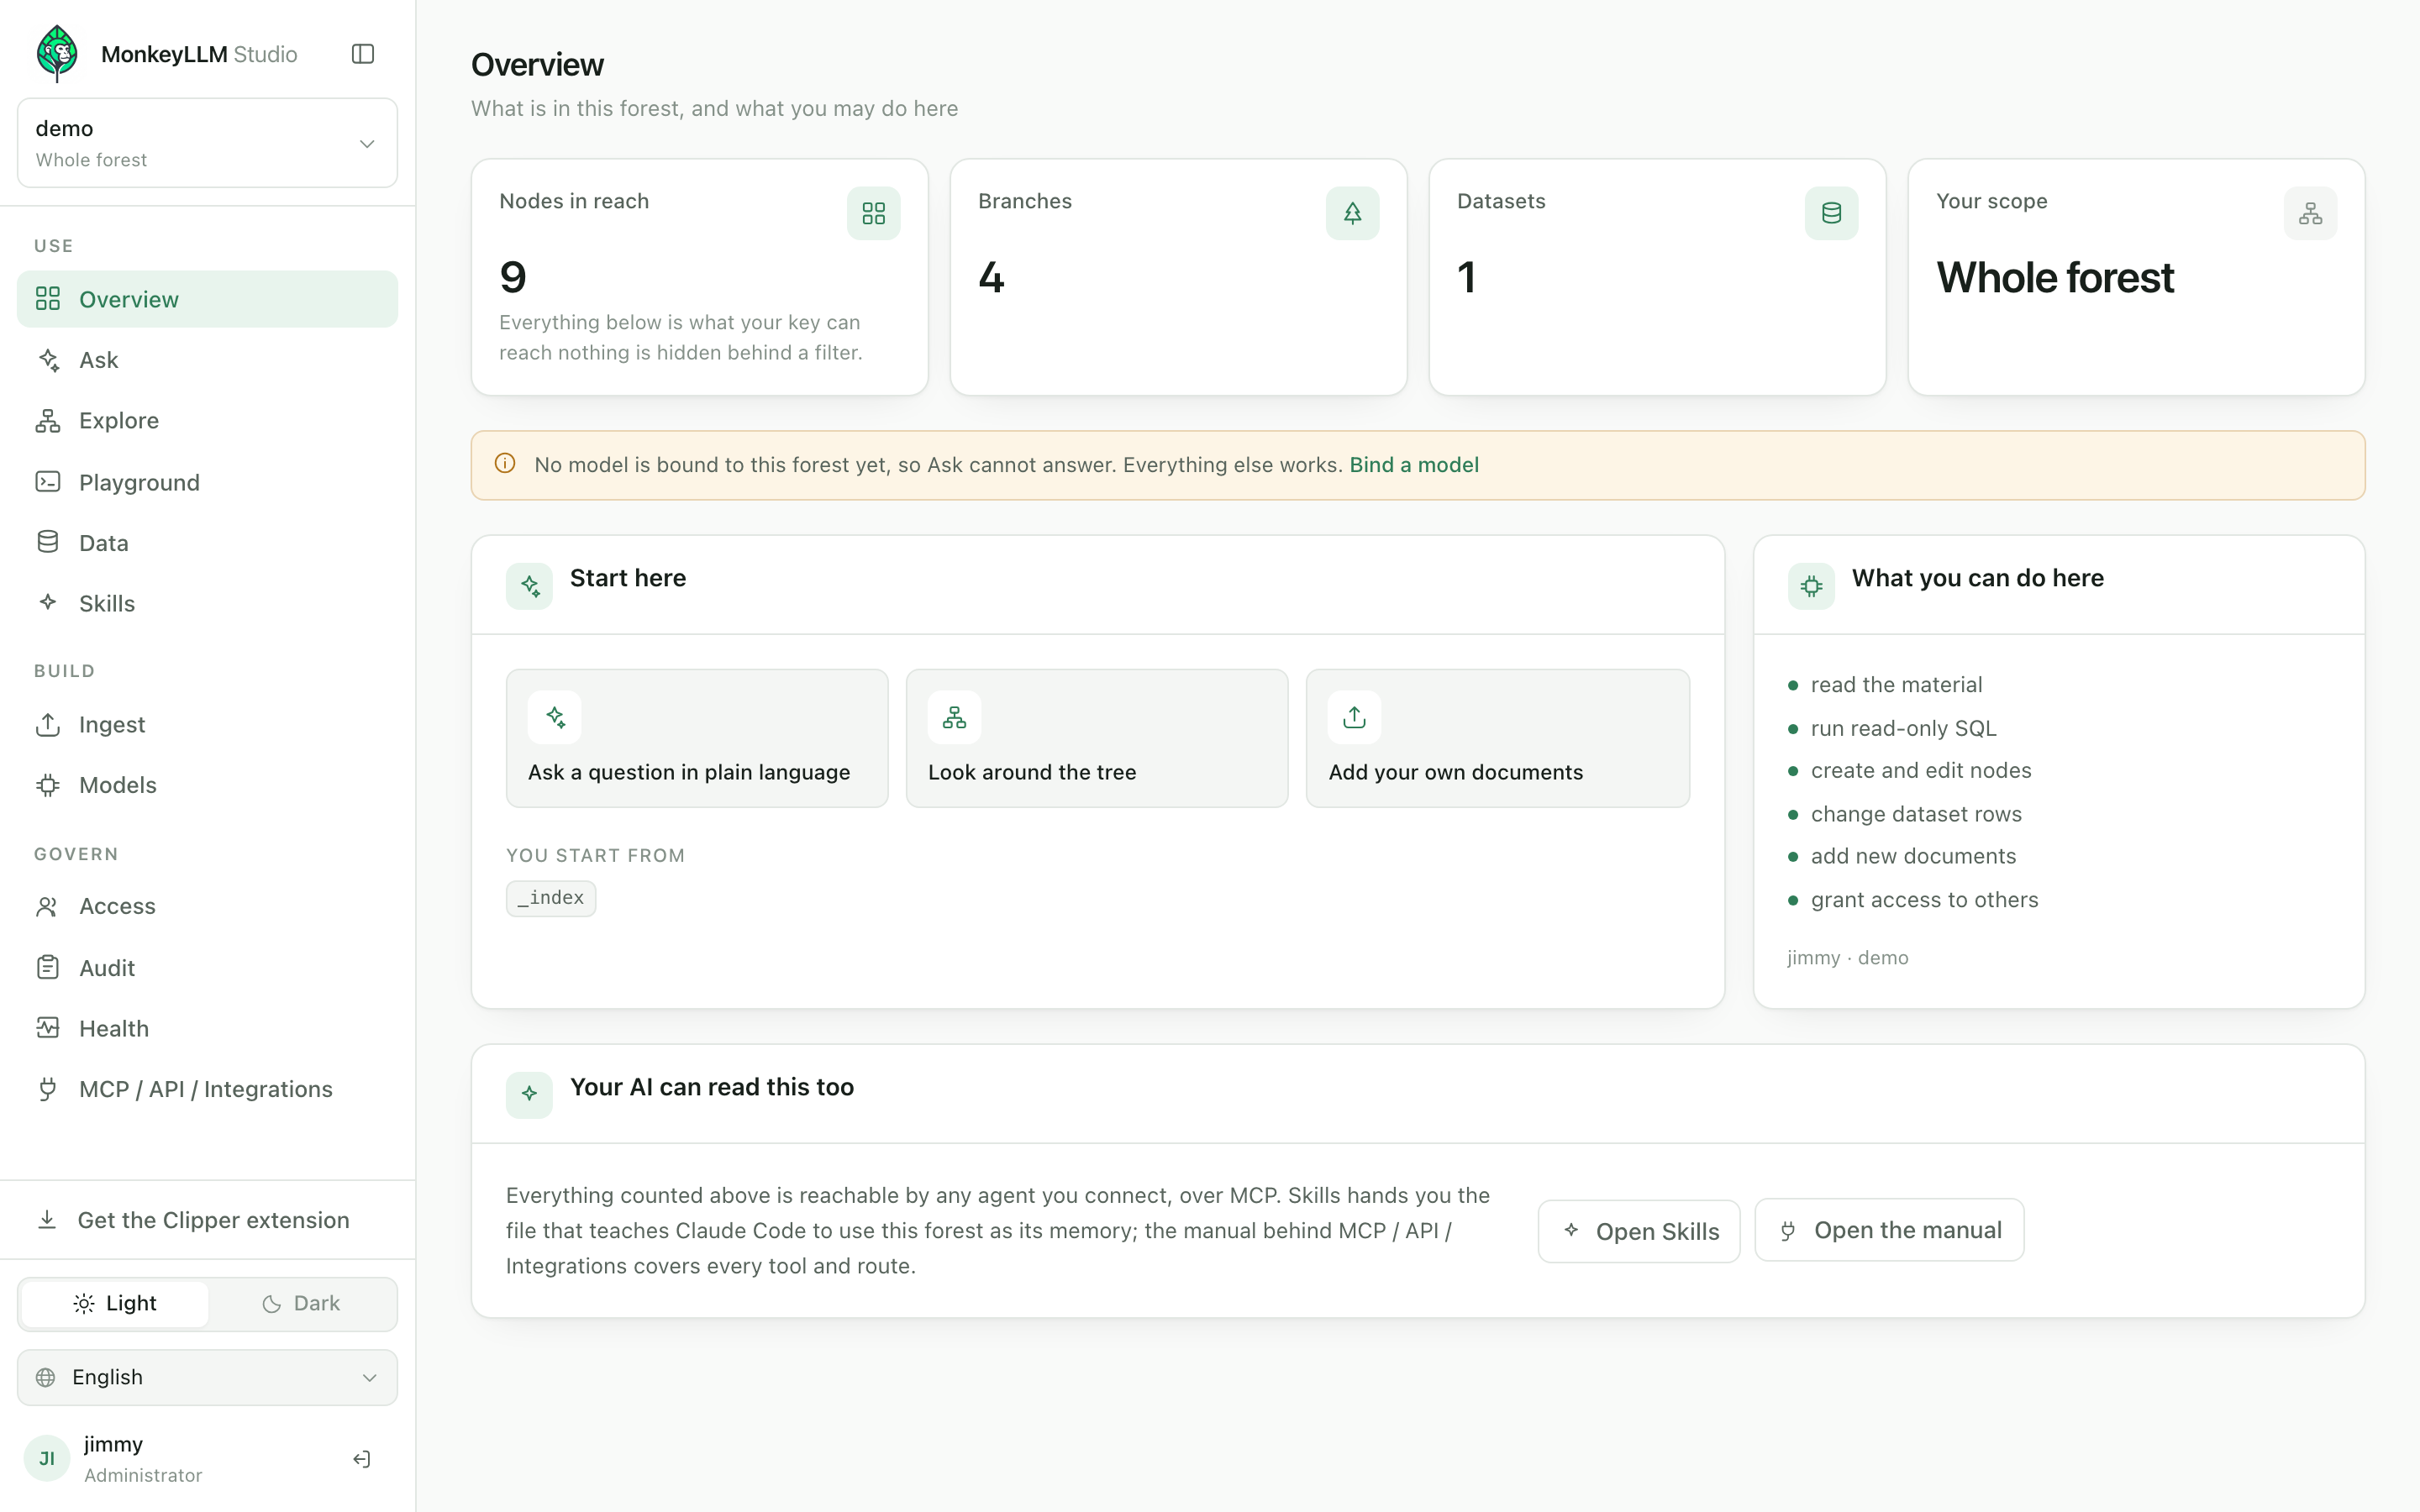
MonkeyLLM ships as one container. Frontend and backend are the same service:
the Station serves the REST API under /v1, the MCP surface under /mcp,
and the Studio console at /. There is no external database to provision:
everything worth keeping lives in two named volumes.
Here is the whole path from a clean machine to a forest you can query.
1. Bring it up
git clone https://github.com/JimmyWesley/MonkeyLLM.git
cd MonkeyLLM
cp .env.example .env          # optional, but read it once
docker compose up --build -d
The first build takes a few minutes. After that:
docker compose logs station
The first boot prints how to get in. Nobody owns a fresh Station, so the log points at http://localhost:8800, where the first person to arrive creates the owner account.
2. Headless boxes
There is no console to click on a server you only reach over SSH. Add
--bootstrap-key to the Station command (or set
MONKEYLLM_STATION_BOOTSTRAP_KEY=1) and the first API key is printed once,
at boot, instead of the setup screen appearing. Nothing is minted just by
starting the container.
3. Bind address, on purpose
The compose file publishes the port on 127.0.0.1 by default. On a laptop
that is exactly right. On a VPS it is the difference between a console reached
over TLS through your reverse proxy and an API answering in the clear on a
public IP. A proxy reaches the container over the Docker network, never over
the host port. Open it deliberately with STATION_BIND=0.0.0.0 when you
actually want it on the LAN.
If you serve it through a proxy or change the port, add that host to
MONKEYLLM_STATION_ALLOWED_HOSTS: the MCP surface checks it. Every request
still carries an API key regardless.
4. Point it at a model
The engine's search path is BM25 and needs no embeddings at all, which is why it runs on modest hardware. A chat model is what turns navigation into answers:
MONKEYLLM_LLM_ENDPOINT=https://your-provider/v1
MONKEYLLM_LLM_API_KEY=...
MONKEYLLM_LLM_MODEL=your-model
Prefer to keep everything local? Two optional profiles bring up llama.cpp services next to the Station:
docker compose --profile local-llm --profile local-embed up -d
then set MONKEYLLM_LLM_ENDPOINT=http://llm:8090/v1 and
MONKEYLLM_EMBED_ENDPOINT=http://embed:8091/v1. The embedder is optional:
leave it unset and you get the BM25-only contract, which is the configuration
the published benchmarks use.
5. Plant something
Open the Studio, go to Ingest, and drop files in. Markdown becomes notes,
.docx becomes documents, and CSV/XLSX/SQLite become datasets: real
tables an agent queries with read-only SQL, each carrying a generated query
manual and sample rows in its passport. Whatever the converter cannot handle
is listed by name in the report instead of being silently dropped.
6. Hand it to your AI
vine serve --forest ./brain            # stdio MCP
vine serve --forest ./brain --transport http
Claude Code (or any MCP-capable runtime) then holds the forest's tools
directly. The Station exposes the same surface at /mcp with scoped keys and
an audit trail, and the Studio can generate the skill file for you.
Licensing, briefly
The engine is Apache-2.0. The Station, Studio and Clipper are AGPL-3.0-only: self-hosting is free and unrestricted, including commercially. Offering the host itself as a managed service to third parties is what the copyleft covers, and a commercial licence exists for exactly that case.
Full walkthrough, including Dokploy: deploy/README.md in the repository.